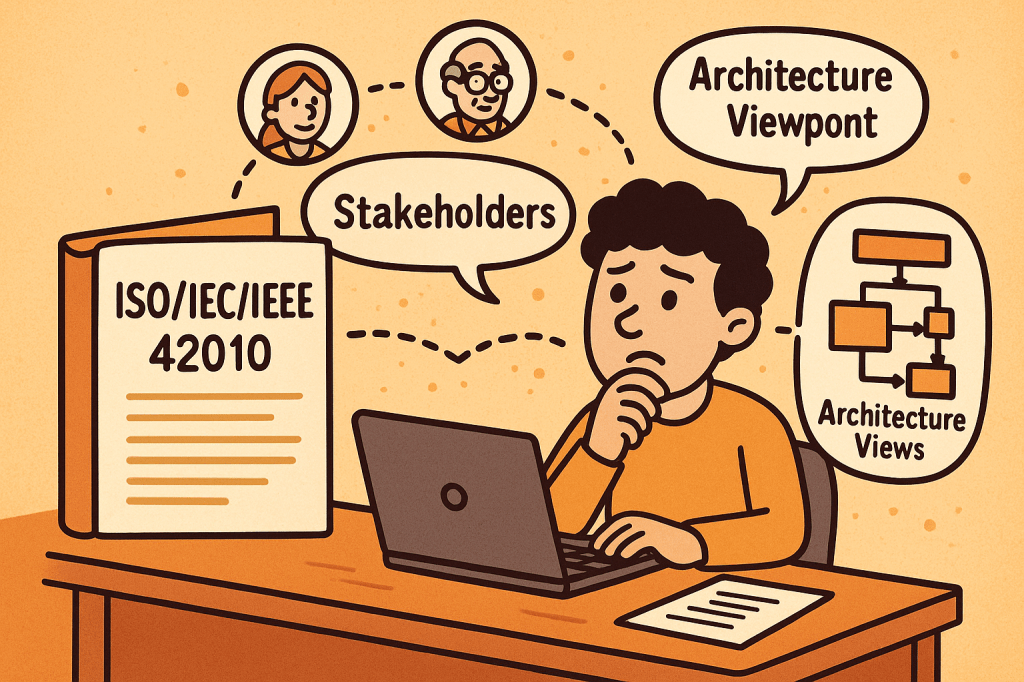
ISO/IEC/IEEE 42010 is an international standard that provides guidance for describing system and software architectures. It ensures that architecture descriptions are consistent, comprehensive, and understandable to all stakeholders.
The standard defines a framework and terminology that helps architects document, communicate, and evaluate software and systems architectures in a standardized and structured way.
At its core, ISO/IEC/IEEE 42010 answers the question: How do we describe architectures so they are meaningful, useful, and comparable?
A Brief History of ISO/IEC/IEEE 42010
The standard evolved to address the increasing complexity of systems and the lack of uniformity in architectural documentation:
1996 – The original version was published as IEEE Std 1471-2000, known as “Recommended Practice for Architectural Description of Software-Intensive Systems.”
2007 – Adopted by ISO and IEC as ISO/IEC 42010:2007, giving it wider international recognition.
2011 – Revised and expanded as ISO/IEC/IEEE 42010:2011, incorporating both system and software architectures, aligning with global best practices, and harmonizing with IEEE.
Today – It remains the foundational standard for architecture description, often referenced in model-driven development, enterprise architecture, and systems engineering.
Key Components and Features of ISO/IEC/IEEE 42010
The standard defines several core concepts to ensure architecture descriptions are useful and structured:
1. Stakeholders
Individuals, teams, or organizations who have an interest in the system (e.g., developers, users, maintainers, regulators).
The standard emphasizes identifying stakeholders and their concerns.
2. Concerns
Issues that stakeholders care about, such as performance, security, usability, reliability, scalability, and compliance.
Architecture descriptions must explicitly address these concerns.
3. Architecture Views
Representations of the system from the perspective of particular concerns.
For example:
A deployment view shows how software maps to hardware.
A security view highlights authentication, authorization, and data protection.
4. Viewpoints
Specifications that define how to construct and interpret views.
Example: A UML diagram might serve as a viewpoint to express design details.
5. Architecture Description (AD)
The complete set of views, viewpoints, and supporting information documenting the architecture of a system.
6. Correspondences and Rationale
Explains how different views relate to each other.
Provides reasoning for architectural choices, improving traceability.
Why Do We Need ISO/IEC/IEEE 42010?
Architectural documentation often suffers from being inconsistent, incomplete, or too tailored to one stakeholder group. This is where ISO/IEC/IEEE 42010 adds value:
Improves communication Provides a shared vocabulary and structure for architects, developers, managers, and stakeholders.
Ensures completeness Encourages documenting all stakeholder concerns, not just technical details.
Supports evaluation Helps teams assess whether the architecture meets quality attributes like performance, maintainability, and security.
Enables consistency Standardizes how architectures are described, making them easier to compare, reuse, and evolve.
Facilitates governance Useful in regulatory or compliance-heavy industries (healthcare, aerospace, finance) where documentation must meet international standards.
What ISO/IEC/IEEE 42010 Does Not Cover
While it provides a strong framework for describing architectures, it does not define or prescribe:
Specific architectural methods or processes It does not tell you how to design an architecture (e.g., Agile, TOGAF, RUP). Instead, it tells you how to describe the architecture once you’ve designed it.
Specific notations or tools The standard does not mandate UML, ArchiMate, or SysML. Any notation can be used, as long as it aligns with stakeholder concerns.
System or software architecture itself It is not a design method, but rather a documentation and description framework.
Quality guarantees It ensures concerns are addressed and documented but does not guarantee that the system will meet those concerns in practice.
Final Thoughts
ISO/IEC/IEEE 42010 is a cornerstone standard in systems and software engineering. It brings clarity, structure, and rigor to how we document architectures. While it doesn’t dictate how to build systems, it ensures that when systems are built, their architectures are well-communicated, stakeholder-driven, and consistent.
For software teams, enterprise architects, and systems engineers, adopting ISO/IEC/IEEE 42010 can significantly improve communication, reduce misunderstandings, and strengthen architectural governance.
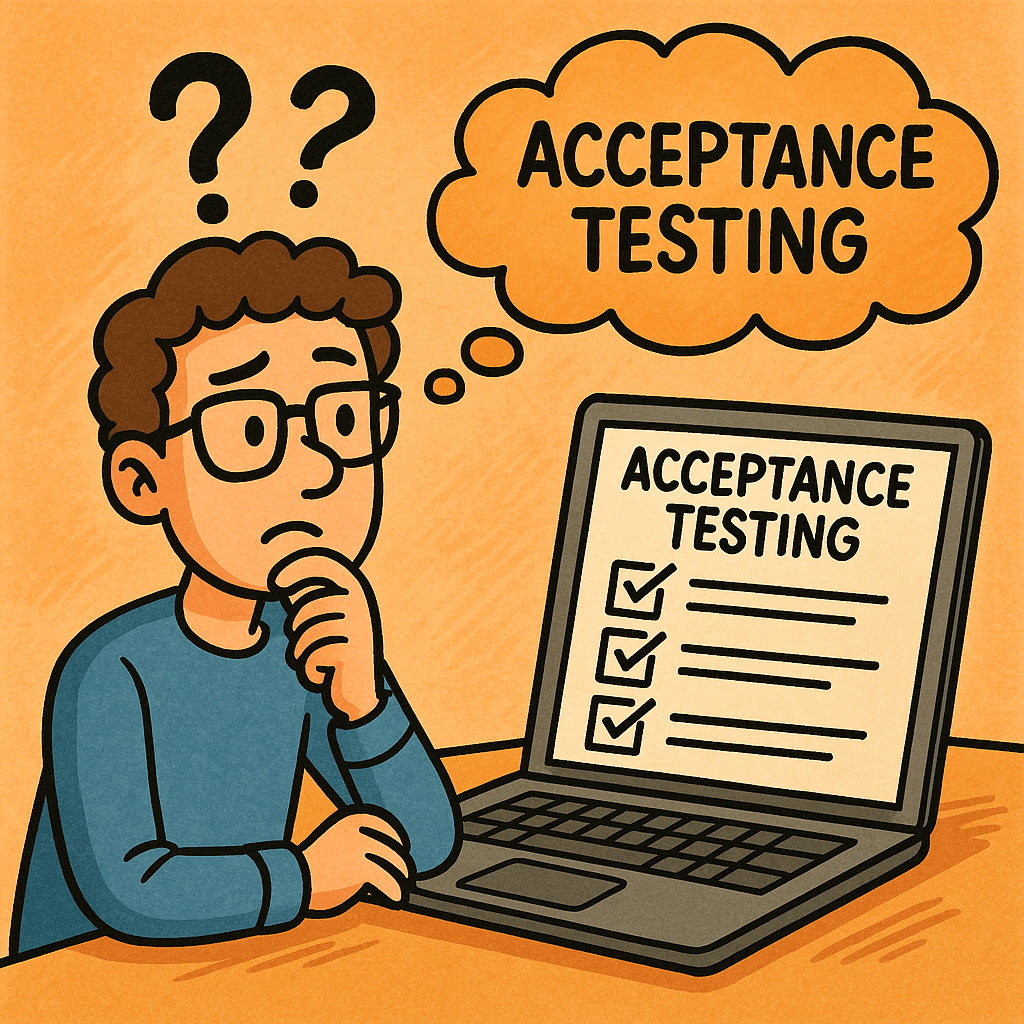
Acceptance Testing is a type of software testing conducted to determine whether a system meets business requirements and is ready for deployment. It is the final phase of testing before software is released to production. The primary goal is to validate that the product works as expected for the end users and stakeholders.
Unlike unit or integration testing, which focus on technical correctness, acceptance testing focuses on business functionality and usability.
Main Features and Components of Acceptance Testing
Business Requirement Focus
Ensures the product aligns with user needs and business goals.
Based on functional and non-functional requirements.
Stakeholder Involvement
End users, product owners, or business analysts validate the results.
Predefined Test Cases and Scenarios
Tests are derived directly from user stories or requirement documents.
Pass/Fail Criteria
Each test has a clear outcome: if all criteria are met, the system is accepted.
Types of Acceptance Testing
User Acceptance Testing (UAT): Performed by end users.
Regulation Acceptance Testing (RAT): Ensures compliance with industry standards and regulations.
How Does Acceptance Testing Work?
Requirement Analysis
Gather business requirements, user stories, and acceptance criteria.
Test Planning
Define objectives, entry/exit criteria, resources, timelines, and tools.
Test Case Design
Create test cases that reflect real-world business processes.
Environment Setup
Prepare a production-like environment for realistic testing.
Execution
Stakeholders or end users execute tests to validate features.
Defect Reporting and Retesting
Any issues are reported, fixed, and retested.
Sign-off
Once all acceptance criteria are met, the software is approved for release.
Benefits of Acceptance Testing
Ensures Business Alignment: Confirms that the software meets real user needs.
Improves Quality: Reduces the chance of defects slipping into production.
Boosts User Satisfaction: End users are directly involved in validation.
Reduces Costs: Catching issues before release is cheaper than fixing post-production bugs.
Regulatory Compliance: Ensures systems meet industry or legal standards.
When and How Should We Use Acceptance Testing?
When to Use:
At the end of the development cycle, after system and integration testing.
Before product release or delivery to the customer.
How to Use:
Involve end users early in test planning.
Define clear acceptance criteria at the requirement-gathering stage.
Automate repetitive acceptance tests for efficiency (e.g., using Cucumber, FitNesse).
Real-World Use Cases of Acceptance Testing
E-commerce Platforms
Testing if users can successfully search, add products to cart, checkout, and receive order confirmations.
Banking Systems
Verifying that fund transfers, account balance checks, and statement generations meet regulatory and business expectations.
Healthcare Software
Ensuring that patient data is stored securely and workflows comply with HIPAA regulations.
Government Systems
Confirming that online tax filing applications meet both citizen needs and legal compliance.
How to Integrate Acceptance Testing into the Software Development Process
Agile & Scrum Integration
Define acceptance criteria in each user story.
Automate acceptance tests as part of the CI/CD pipeline.
Shift-Left Approach
Involve stakeholders early in requirement definition and acceptance test design.
Tool Support
Use tools like Cucumber, Behave, Selenium, FitNesse for automation.
Integrate with Jenkins, GitLab CI/CD, or Azure DevOps for continuous validation.
Feedback Loops
Provide immediate feedback to developers and business owners when acceptance criteria fail.
Conclusion
Acceptance Testing is the bridge between technical correctness and business value. By validating the system against business requirements, organizations ensure higher quality, regulatory compliance, and user satisfaction. When properly integrated into the development process, acceptance testing reduces risks, improves product reliability, and builds stakeholder confidence.
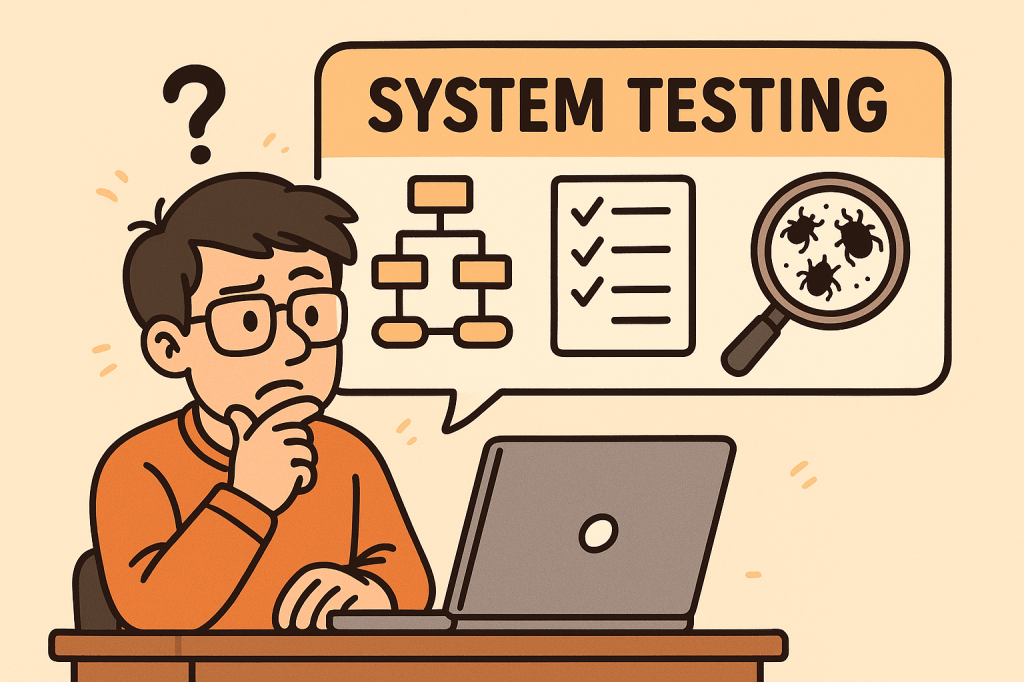
Software development doesn’t end with writing code—it must be tested thoroughly to ensure it works as intended. One of the most comprehensive testing phases is System Testing, where the entire system is evaluated as a whole. This blog will explore what system testing is, its features, how it works, benefits, real-world examples, and how to integrate it into your software development process.
What is System Testing?
System Testing is a type of software testing where the entire integrated system is tested as a whole. Unlike unit testing (which focuses on individual components) or integration testing (which focuses on interactions between modules), system testing validates that the entire software product meets its requirements.
It is typically the final testing stage before user acceptance testing (UAT) and deployment.
Main Features and Components of System Testing
System testing includes several important features and components:
1. End-to-End Testing
Tests the software from start to finish, simulating real user scenarios.
2. Black-Box Testing Approach
Focuses on the software’s functionality rather than its internal code. Testers don’t need knowledge of the source code.
3. Requirement Validation
Ensures that the product meets all functional and non-functional requirements.
4. Comprehensive Coverage
Covers a wide variety of testing types such as:
Functional testing
Performance testing
Security testing
Usability testing
Compatibility testing
5. Environment Similarity
Conducted in an environment similar to production to detect environment-related issues.
How Does System Testing Work?
The process of system testing typically follows these steps:
Requirement Review – Analyze functional and non-functional requirements.
Test Planning – Define test strategy, scope, resources, and tools.
Test Case Design – Create detailed test cases simulating user scenarios.
Test Environment Setup – Configure hardware, software, and databases similar to production.
Test Execution – Execute test cases and record results.
Defect Reporting and Tracking – Log issues and track them until resolution.
Regression Testing – Retest the system after fixes to ensure stability.
Final Evaluation – Ensure the system is ready for deployment.
Benefits of System Testing
System testing provides multiple advantages:
Validates Full System Behavior – Ensures all modules and integrations work together.
Detects Critical Bugs – Finds issues missed during unit or integration testing.
Improves Quality – Increases confidence that the system meets requirements.
Reduces Risks – Helps prevent failures in production.
Ensures Compliance – Confirms the system meets legal, industry, and business standards.
When and How Should We Use System Testing?
When to Use:
After integration testing is completed.
Before user acceptance testing (UAT) and deployment.
How to Use:
Define clear acceptance criteria.
Automate repetitive system-level test cases where possible.
Simulate real-world usage scenarios to mimic actual customer behavior.
Real-World Use Cases of System Testing
E-commerce Website
Verifying user registration, product search, cart, checkout, and payment workflows.
Ensuring the system handles high traffic loads during sales events.
Banking Applications
Validating transactions, loan applications, and account security.
Checking compliance with financial regulations.
Healthcare Systems
Testing appointment booking, patient data access, and medical records security.
Ensuring HIPAA compliance and patient safety.
Mobile Applications
Confirming compatibility across devices, screen sizes, and operating systems.
Testing notifications, performance, and offline capabilities.
How to Integrate System Testing into the Software Development Process
Adopt a Shift-Left Approach – Start planning system tests early in the development lifecycle.
Use Continuous Integration (CI/CD) – Automate builds and deployments so system testing can be executed frequently.
Automate Where Possible – Use tools like Selenium, JUnit, or Cypress for functional and regression testing.
Define Clear Test Environments – Keep staging environments as close as possible to production.
Collaborate Across Teams – Ensure developers, testers, and business analysts work together.
Track Metrics – Measure defect density, test coverage, and execution time to improve continuously.
Conclusion
System testing is a critical step in delivering high-quality software. It validates the entire system as a whole, ensuring that all functionalities, integrations, and requirements are working correctly. By integrating system testing into your development process, you can reduce risks, improve reliability, and deliver products that users can trust.
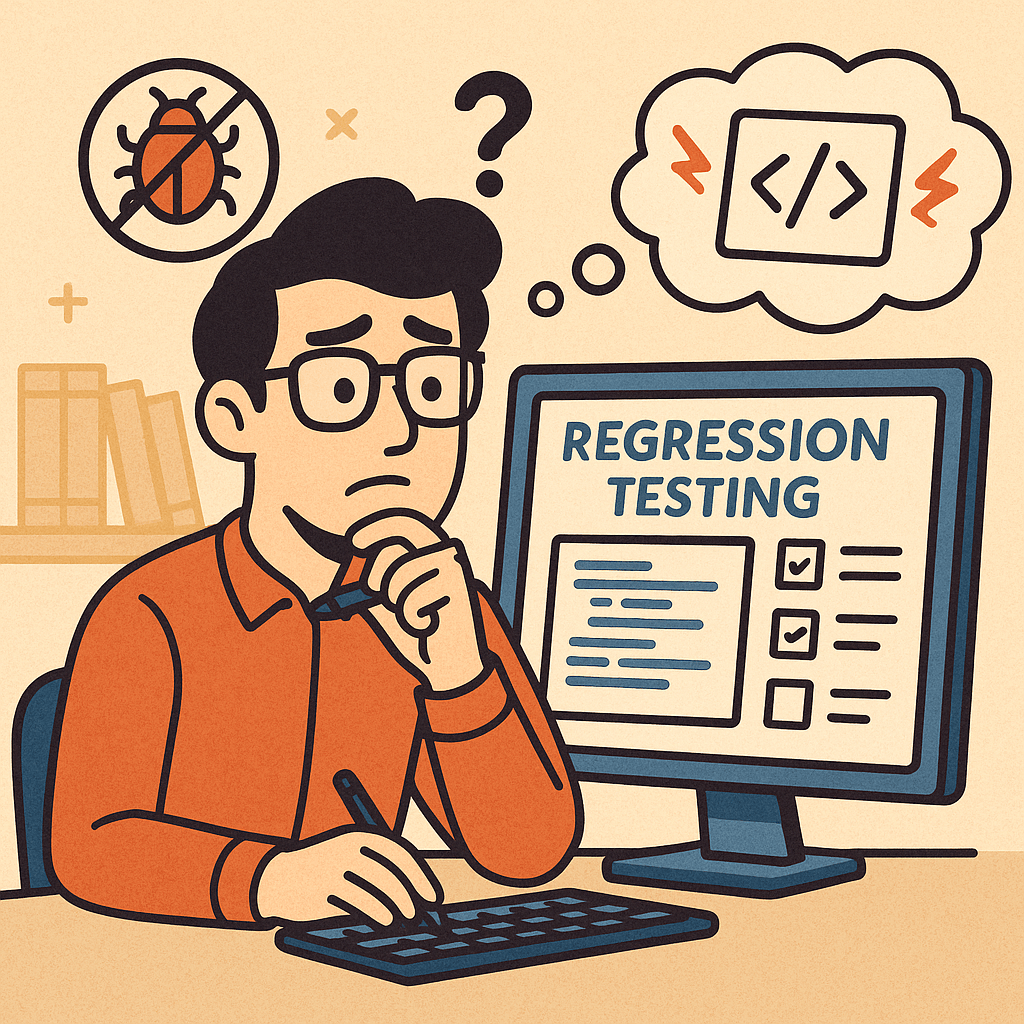
Regression testing is a type of software testing that ensures recent code changes, bug fixes, or new features do not negatively impact the existing functionality of an application. In simple terms, it verifies that what worked before still works now, even after updates.
This type of testing is crucial because software evolves continuously, and even small code changes can unintentionally break previously working features.
Main Features and Components of Regression Testing
Test Re-execution
Previously executed test cases are run again after changes are made.
Automated Test Suites
Automation is often used to save time and effort when repeating test cases.
Selective Testing
Not all test cases are rerun; only those that could be affected by recent changes.
Defect Tracking
Ensures that previously fixed bugs don’t reappear in later builds.
Coverage Analysis
Focuses on areas where changes are most likely to cause side effects.
How Regression Testing Works
Identify Changes Developers or QA teams determine which parts of the system were modified (new features, bug fixes, refactoring, etc.).
Select Test Cases Relevant test cases from the test repository are chosen. This selection may include:
Critical functional tests
High-risk module tests
Frequently used features
Execute Tests Test cases are rerun manually or through automation tools (like Selenium, JUnit, TestNG, Cypress).
Compare Results The new test results are compared with the expected results to detect failures.
Report and Fix Issues If issues are found, developers fix them, and regression testing is repeated until stability is confirmed.
Benefits of Regression Testing
Ensures Software Stability Protects against accidental side effects when new code is added.
Improves Product Quality Guarantees existing features continue working as expected.
Boosts Customer Confidence Users get consistent and reliable performance.
Supports Continuous Development Essential for Agile and DevOps environments where changes are frequent.
Reduces Risk of Production Failures Early detection of reappearing bugs lowers the chance of system outages.
When and How Should We Use Regression Testing?
After Bug Fixes Ensures the fix does not cause problems in unrelated features.
After Feature Enhancements New functionalities can sometimes disrupt existing flows.
After Code Refactoring or Optimization Even performance improvements can alter system behavior.
In Continuous Integration (CI) Pipelines Automated regression testing should be a standard step in CI/CD workflows.
Real World Use Cases of Regression Testing
E-commerce Websites
Adding a new payment gateway may unintentionally break existing checkout flows.
Regression tests ensure the cart, discount codes, and order confirmations still work.
Banking Applications
A bug fix in the fund transfer module could affect balance calculations or account statements.
Adding a new push notification feature might impact login or navigation features.
Regression testing validates that old features continue working smoothly.
Healthcare Systems
When updating electronic health record (EHR) software, regression tests confirm patient history retrieval still works correctly.
How to Integrate Regression Testing Into Your Software Development Process
Maintain a Test Repository Keep all test cases in a structured and reusable format.
Automate Regression Testing Use automation tools like Selenium, Cypress, or JUnit to reduce manual effort.
Integrate with CI/CD Pipelines Trigger regression tests automatically with each code push.
Prioritize Test Cases Focus on critical features first to optimize test execution time.
Schedule Regular Regression Cycles Combine full regression tests with partial (smoke/sanity) regression tests for efficiency.
Monitor and Update Test Suites As your application evolves, continuously update regression test cases to match new requirements.
Conclusion
Regression testing is not just a safety measure—it’s a vital process that ensures stability, reliability, and confidence in your software. By carefully selecting, automating, and integrating regression tests into your development pipeline, you can minimize risks, reduce costs, and maintain product quality, even in fast-moving Agile and DevOps environments.
In modern software development, testing is a crucial step to ensure the stability, quality, and reliability of applications. Among different types of testing, Smoke Testing stands out as one of the simplest yet most effective methods to quickly assess whether a build is stable enough for further testing.
This blog explores what smoke testing is, how it works, its features, benefits, real-world use cases, and how you can integrate it into your software development process.
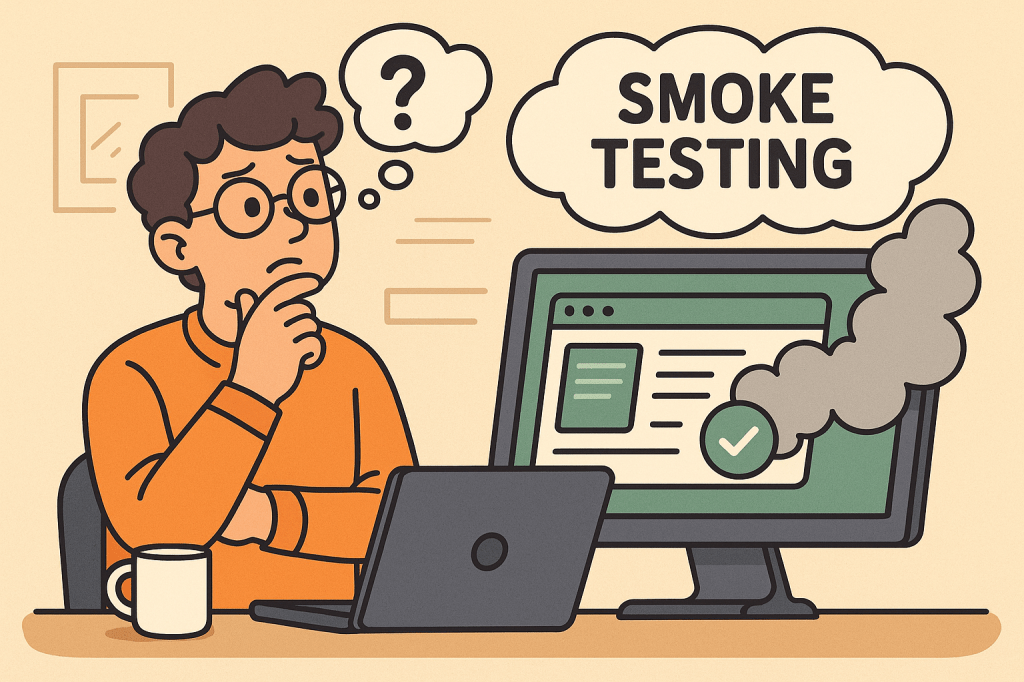
What is Smoke Testing?
Smoke Testing (also called Build Verification Testing) is a type of software testing that ensures the most important functions of an application work correctly after a new build or release.
The term comes from hardware testing, where engineers would power up a device for the first time and check if it “smoked.” In software, the idea is similar — if the application fails during smoke testing, it’s not ready for deeper functional or regression testing.
Main Features and Components of Smoke Testing
Build Verification
Performed on new builds to check if the application is stable enough for further testing.
Critical Functionality Check
Focuses only on the essential features like login, navigation, data input, and core workflows.
Shallow and Wide Testing
Covers all major areas of the application without going into too much detail.
Automation or Manual Execution
Can be executed manually for small projects or automated for CI/CD pipelines.
Fast Feedback
Provides developers and testers with immediate insights into build quality.
How Does Smoke Testing Work?
The process of smoke testing generally follows these steps:
Receive the Build
A new build is deployed from the development team.
Deploy in Test Environment
The build is installed in a controlled testing environment.
Execute Smoke Test Cases
Testers run predefined test cases focusing on core functionality (e.g., login, saving records, basic navigation).
Evaluate the Results
If the smoke test passes, the build is considered stable for further testing.
If it fails, the build is rejected, and the issues are reported back to developers.
Benefits of Smoke Testing
Early Detection of Major Defects
Prevents wasted effort on unstable builds.
Saves Time and Effort
Quickly identifies whether further testing is worthwhile.
Improves Build Stability
Ensures only stable builds reach deeper levels of testing.
Supports Continuous Integration
Automated smoke tests provide fast feedback in CI/CD pipelines.
Boosts Confidence
Developers and testers gain assurance that the software is fundamentally working.
When and How Should We Use Smoke Testing?
After Every New Build
Run smoke tests to validate basic functionality before regression or system testing.
During Continuous Integration/Delivery (CI/CD)
Automate smoke tests to ensure each code commit does not break critical functionality.
In Agile Environments
Use smoke testing at the end of every sprint to ensure incremental builds remain stable.
Real-World Use Cases of Smoke Testing
Web Applications
Example: After a new deployment of an e-commerce platform, smoke tests might check if users can log in, add items to a cart, and proceed to checkout.
Mobile Applications
Example: For a banking app, smoke tests ensure users can log in, view account balances, and transfer funds before more advanced testing begins.
Enterprise Systems
Example: In large ERP systems, smoke tests verify whether dashboards load, reports generate, and user roles function properly.
CI/CD Pipelines
Example: Automated smoke tests run after every commit in Jenkins or GitHub Actions, ensuring no critical features are broken.
How to Integrate Smoke Testing Into Your Software Development Process
Define Critical Features
Identify the most important features that must always work.
Create Reusable Test Cases
Write simple but broad test cases that cover the entire system’s core functionalities.
Automate Whenever Possible
Use testing frameworks like Selenium, Cypress, or JUnit to automate smoke tests.
Integrate With CI/CD Tools
Configure Jenkins, GitLab CI, or GitHub Actions to trigger smoke tests after every build.
Continuous Monitoring
Regularly review and update smoke test cases as the application evolves.
Conclusion
Smoke testing acts as the first line of defense in software testing. It ensures that critical functionalities are intact before investing time and resources into deeper testing activities. Whether you’re working with web apps, mobile apps, or enterprise systems, smoke testing helps maintain build stability and improves overall software quality.
By integrating smoke testing into your CI/CD pipeline, you can speed up development cycles, reduce risks, and deliver stable, reliable software to your users.
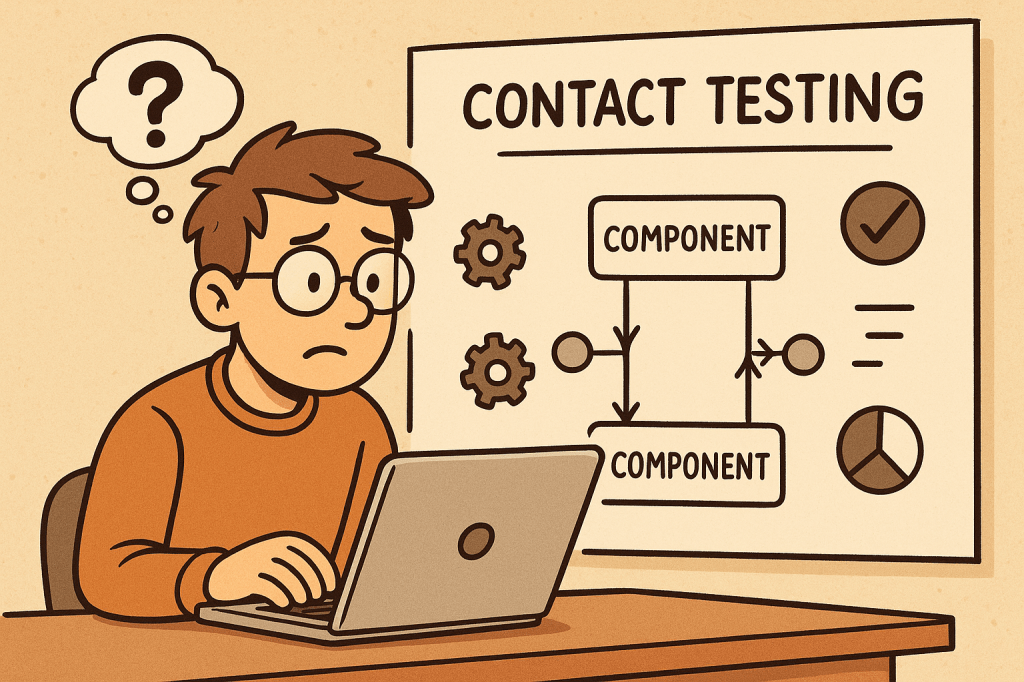
Contact testing is a software testing approach where different components, services, or systems that “contact” each other are tested to ensure they communicate correctly. It focuses on the integration points between units or modules, rather than testing each component in isolation.
The goal is to verify that the interfaces, data exchanges, and dependencies between components work as expected. While unit tests validate the logic inside a module, contact tests validate the correctness of the connections between modules.
In short: contact testing ensures that pieces of software can talk to each other reliably.
How Does Contact Testing Work?
Contact testing works by simulating real interactions between two or more components in a controlled environment.
Identify contact points – Determine where modules, APIs, or services interact (e.g., function calls, REST endpoints, message brokers).
Define contracts and expectations – Define what inputs, outputs, and protocols the interaction should follow.
Set up a test environment – Create a test harness or mock services to replicate real communication.
Execute tests – Run tests that validate requests, responses, data formats, error handling, and edge cases.
Validate results – Ensure both sides of the interaction behave correctly.
Example: If a front-end application makes a call to a backend API, contact tests check if:
The request is formatted correctly (headers, payload, authentication).
The backend responds with the correct status codes and data structures.
Error scenarios (timeouts, invalid data) are handled properly.
Features and Components of Contact Testing
Interface Validation
Ensures APIs, methods, and endpoints conform to expected definitions.
Data Contract Verification
Confirms that the structure, types, and formats of exchanged data are correct.
Dependency Testing
Validates that dependent services respond as expected.
Error Handling Checks
Tests how systems behave under failures (network issues, incorrect inputs).
Automation Support
Easily integrated into CI/CD pipelines for continuous validation.
Environment Simulation
Uses stubs, mocks, or test doubles to mimic dependencies when the real ones are unavailable.
Advantages and Benefits
Early Bug Detection
Detects integration issues before deployment.
Improved Reliability
Ensures systems interact smoothly, reducing runtime errors.
Better Communication Between Teams
Clearly defined contracts improve collaboration between frontend, backend, and third-party teams.
Supports Agile and Microservices
Critical in distributed systems where many services interact.
Reduced Production Failures
By validating assumptions early, fewer surprises occur in production.
When and How Should We Use Contact Testing?
When to Use
When multiple teams build components independently.
When integrating third-party APIs or services.
In microservices architectures with many dependencies.
Before full end-to-end testing to catch issues early.
How to Use
Define contracts (OpenAPI/Swagger for REST APIs, Protobuf for gRPC).
Create automated tests that verify requests and responses.
Run tests as part of CI/CD pipelines after unit tests but before full system tests.
Use tools like Pact, WireMock, or Postman/Newman for contract and contact testing.
Real-World Examples
E-commerce Platform
Frontend calls backend to fetch product details. Contact tests verify that product IDs, prices, and stock status are correctly retrieved.
Payment Gateway Integration
Contact tests ensure the application sends payment requests correctly and handles responses (success, failure, timeout) as expected.
Microservices in Banking
Account service and transaction service communicate via REST APIs. Contact tests validate data formats (account number, balance) and error handling (invalid accounts, insufficient funds).
Healthcare System
Contact tests ensure patient records shared between hospital modules follow the correct format and confidentiality rules.
How to Integrate Contact Testing into the Software Development Process
Define Contracts Early
Use schemas or interface definitions as a shared agreement between teams.
Implement Contact Tests Alongside Unit Tests
Ensure each service’s contact points are tested before integration.
Automate in CI/CD Pipelines
Run contact tests automatically on pull requests and deployments.
Use Mock Servers
For unavailable or costly dependencies, use mock servers to simulate interactions.
Continuous Monitoring
Extend contact testing into production with monitoring tools to detect real-world deviations.
Conclusion
Contact testing is a crucial step between unit testing and full system testing. It ensures that modules, services, and APIs can communicate correctly, reducing integration risks. By incorporating contact tests into your development lifecycle, you improve software reliability, minimize production issues, and enable smoother collaboration across teams.
Whether you’re building microservices, APIs, or integrating third-party tools, contact testing helps validate trust at every connection point.
Fuzzing is an automated testing technique that feeds large numbers of malformed, unexpected, or random inputs to a program to find crashes, hangs, memory corruption, and other security/robustness bugs. This post explains what fuzzing is, key features and types, how it works (step-by-step), advantages and limitations, real-world use cases, and exactly how to integrate fuzzing into a modern software development process.
What is fuzzing?
Fuzzing (or “fuzz testing”) is an automated technique for finding bugs by supplying a program with many inputs that are unusual, unexpected, or deliberately malformed, and observing for failures (crashes, assertion failures, timeouts, resource leaks, incorrect output, etc.). Fuzzers range from simple random-input generators to sophisticated, feedback-driven engines that learn which inputs exercise new code paths.
Fuzzing is widely used both for security (discovering vulnerabilities an attacker could exploit) and for general robustness testing (finding crashes and undefined behaviour).
Key features (explained)
Automated input generation
Fuzzers automatically produce a large volume of test inputs — orders of magnitude more than manual testing — which increases the chance of hitting rare edge cases.
Monitoring and detection
Fuzzers monitor the program for signals of failure: crashes, memory-safety violations (use-after-free, buffer overflow), assertion failures, infinite loops/timeouts, and sanitizer reports.
Coverage / feedback guidance
Modern fuzzers use runtime feedback (e.g., code coverage) to prefer inputs that exercise previously unvisited code paths, greatly improving effectiveness over pure random mutation.
Instrumentation
Instrumentation (compile-time or runtime) gathers execution information such as branch coverage, comparisons, or tainting. This enables coverage-guided fuzzing and faster discovery of interesting inputs.
Test harness / drivers
The target often needs a harness — a small wrapper that feeds inputs to a specific function or module — letting fuzzers target internal code directly instead of whole applications.
Minimization and corpus management
Good fuzzing workflows reduce (minimize) crashing inputs to the smallest test case that still reproduces the issue, and manage corpora of “interesting” seeds to guide future fuzzing.
Triage and deduplication
After crashes are detected, automated triage groups duplicates (same root cause), classifies severity, and collects debugging artifacts (stack trace, sanitizer output).
How fuzzing works — step by step
Choose the target
Could be a file parser (image, audio), protocol handler, CLI, library function, or an API endpoint.
Prepare a harness
Create a small driver that receives raw bytes (or structured samples), calls the function under test, and reports failures. For binaries, you can fuzz the whole process; for libraries, fuzz the API function directly.
Select a fuzzer and configure
Pick a fuzzer (mutation-based, generation-based, coverage-guided, etc.) and configure timeouts, memory limits, sanitizers, and the initial corpus (seed files).
Instrumentation / sanitizers
Build the target with sanitizers (AddressSanitizer, UndefinedBehaviorSanitizer, LeakSanitizer) and with coverage hooks (if using coverage-guided fuzzing). Instrumentation enables detection and feedback.
Run the fuzzer
The fuzzer runs thousands to millions of inputs, mutating seeds, tracking coverage, and prioritizing inputs that increase coverage.
Detect and record failures
On crash or sanitizer report, the fuzzer saves the input and a log, optionally minimizing the input and capturing a stack trace.
Triage
Deduplicate crashes (e.g., by stack trace), prioritize (security impact, reproducibility), and assign to developers with reproduction steps.
Fix & regress
Developers fix bugs and add new regression tests (the minimized crashing input) to the test suite to prevent regressions.
Continuous fuzzing
Add long-running fuzzing to nightly/CI (or to a fuzzing infrastructure) to keep finding issues as code changes.
Types of fuzzing
By knowledge of the target
Black-box fuzzing
No knowledge of internal structure. Inputs are sent to the program and only external outcomes are observed (e.g., crash/no crash).
Cheap and easy to set up, but less efficient for deep code.
White-box fuzzing
Uses program analysis (symbolic execution or constraint solving) to craft inputs that satisfy specific paths/conditions.
Can find deep logical bugs but is computationally expensive and may not scale to large codebases.
Grey-box fuzzing
Hybrid approach: uses lightweight instrumentation (coverage) to guide mutations. Most modern practical fuzzers (AFL-family, libFuzzer) are grey-box.
Good balance of performance and depth.
By generation strategy
Mutation-based
Start from seed inputs and apply random or guided mutations (bit flips, splice, insert). Effective when good seeds exist.
Generation-based
Inputs are generated from a model/grammar (e.g., a JSON generator or network protocol grammar). Good for structured inputs and when valid format is critical.
Grammar-based
Use a formal grammar of the input format to generate syntactically valid/interesting inputs, often combined with mutation.
By goal/technique
Coverage-guided fuzzing
Uses runtime coverage to prefer inputs that exercise new code paths. Highly effective for native code.
Differential fuzzing
Runs the same input against multiple implementations (e.g., different JSON parsers) and looks for inconsistencies in outputs.
Mutation + symbolic (concolic)
Combines concrete execution with symbolic analysis to solve comparisons and reach guarded branches.
Network / protocol fuzzing
Sends malformed packets/frames to network services; may require stateful harnesses to exercise authentication or session flows.
API / REST fuzzing
Targets HTTP APIs with unexpected payloads, parameter fuzzing, header fuzzing, and sequence fuzzing (order of calls).
Advantages and benefits
High bug-finding power
Finds crashes, memory errors, and edge cases that manual tests and static analysis often miss.
Scalable and parallelizable
Many fuzzers scale horizontally — run multiple instances on many cores/machines.
Security-driven
Effective at revealing exploitable memory-safety bugs (especially for C/C++), reducing attack surface.
Automatable
Can be integrated into CI/CD or as long-running background jobs (nightly fuzzers).
Low human effort per test
After harness creation and configuration, fuzzing generates and runs vast numbers of tests automatically.
Regression prevention
Crashes found by fuzzing become regression tests that prevent reintroduction of bugs.
Limitations and considerations
Need a good harness or seeds
Mutation fuzzers need representative seed corpus; generation fuzzers need accurate grammars/models.
Can be noisy
Many crashes may be duplicates or low priority; triage is essential.
Not a silver bullet
Fuzzing targets runtime bugs; it won’t find logical errors that don’t cause abnormal behaviour unless you instrument checks.
Resource usage
Fuzzing can be CPU- and time-intensive. Long-running fuzzing infrastructure helps.
Coverage vs depth tradeoff
Coverage-guided fuzzers are excellent for code coverage, but for complex semantic checks you may need white-box techniques or custom checks.
Real-world examples (practical case studies)
Example 1 — Image parser in a media library
Scenario: A C++ image decoding library processes user-supplied images. What you do:
Create a harness that takes raw bytes and calls the image decode function.
Seed with a handful of valid image files (PNG, JPEG).
Build with AddressSanitizer (ASan) and compile-time coverage instrumentation.
Run a coverage-guided fuzzer (mutation-based) for several days. Outcome: Fuzzer generates a malformed chunk that causes a heap buffer overflow. ASan detects it; the input is minimized and stored. Developer fixes bounds check and adds the minimized file as a regression test.
Why effective: Parsers contain lots of complex branches; small malformed bytes often trigger deep logic leading to memory safety issues.
Example 2 — HTTP API fuzzing for a microservice
Scenario: A REST microservice parses JSON payloads and stores data. What you do:
Use a REST fuzzer that mutates fields, numbers, strings, and structure (or use generation from OpenAPI spec + mutation).
Include authentication tokens and sequence flows (create → update → delete).
Monitor for crashes, unhandled exceptions, incorrect status codes, and resource consumption. Outcome: Fuzzer finds an unexpected null pointer when a certain nested structure is missing — leads to 500 errors. Fix adds input validation and better error handling.
Why effective: APIs often trust input structure; fuzzing uncovers missing validation, parsing edge cases, or unintended code paths.
Example 3 — Kernel / driver fuzzing (security focused)
Scenario: Fuzzing a kernel-facing driver interface (e.g., ioctls). What you do:
Use a specialized kernel fuzzer that generates syscall sequences or malformed ioctl payloads, and runs on instrumented kernel builds.
Use persistent fuzzing clusters to run millions of testcases. Outcome: Discover a use-after-free triggered by a race of ioctl calls; leads to CVE fix.
Why effective: Low-level concise interfaces are high-risk; fuzzers explore sequences and inputs that humans rarely test.
How and when to use fuzzing (practical guidance)
When to fuzz
Parsers and deserializers (image, audio, video, document formats).
Newly written code — fuzz early to catch regressions.
Third-party code you integrate: fuzzing can reveal hidden assumptions.
How to pick a strategy
If you have sample files → start with coverage-guided mutation fuzzer and seeds.
If input is structured (grammar) → use grammar-based or generation fuzzers.
If testing across implementations → differential fuzzing.
If deep logical constraints exist → consider white-box/concolic tooling or property-based tests.
Integrating fuzzing into your development process
Here’s a practical, step-by-step integration plan that works for teams of all sizes.
1) Start small — pick one high-value target
Choose a small, high-risk component (parser, protocol handler, or a library function).
Create a minimal harness that feeds arbitrary bytes (or structured inputs) to the function.
2) Build for fuzzing
Compile with sanitizers (ASan, UBSan) and enable coverage instrumentation (clang’s libFuzzer or AFL compile options).
Add deterministic seed corpus (valid samples) and known edge cases.
3) Local experiments
Run quick local fuzzing sessions to ensure harness is stable and crashes are reproducible.
Implement simple triage: crash minimization and stack traces.
4) Add fuzzing to CI (short runs)
Add a lightweight fuzz job to CI that runs for a short time (e.g., 10–30 minutes) on PRs that touch the target code.
If new issues are found, the PR should fail or annotate with findings.
5) Long-running fuzzing infrastructure
Run continuous/overnight fuzzing on dedicated workers (or cloud instances). Persist corpora and crashes.
Use parallel instances with different seeds and mutation strategies.
6) Automate triage and ticket creation
Use existing tools (or scripts) to group duplicate crashes, collect sanitizer outputs, and file tickets or create GitHub issues with reproducer and stack trace.
7) Make regressions tests mandatory
Every fix must include the minimized crashing input as a unit/regression test. Add file to tests/fuzz/regressors.
8) Expand coverage across the codebase
Once comfortable, gradually add more targets, including third-party libraries, and integrate API fuzzing for microservices.
9) Operational practices
Monitor fuzzing metrics: code coverage, unique crashes, time to first crash, triage backlog.
Rotate seeds, update grammars, and re-run fuzzers after major changes.
Educate developers on writing harnesses and interpreting sanitizer output.
Practical tips & best practices
Use sanitizers (ASan/UBSan/MSan) to catch subtle memory and undefined behaviour.
Start with good seeds — a few valid samples dramatically improves mutation fuzzers.
Minimize crashing inputs automatically to simplify debugging.
Keep harnesses stable — harnesses that themselves crash or leak make fuzzing results noisy.
Persist and version corpora — adding new seeds that found coverage helps future fuzzes.
Prioritize triage — a backlog of unanalyzed crashes wastes value.
Use fuzzing results as developer-owned responsibilities — failing to fix crashes undermines confidence in fuzzing.
Example minimal harness (pseudocode)
C (using libFuzzer-style entry):
#include <stddef.h>
#include <stdint.h>

// target function in your library
extern int parse_image(const uint8_t *data, size_t size);

int LLVMFuzzerTestOneInput(const uint8_t *data, size_t size) {
    // call into the library under test
    parse_image(data, size);
    return 0; // non-zero indicates error to libFuzzer
}
Python harness for a CLI program (mutation via custom fuzzer):
import subprocess, tempfile

def run_one(input_bytes):
    with tempfile.NamedTemporaryFile() as f:
        f.write(input_bytes)
        f.flush()
        subprocess.run(["/path/to/mytool", f.name], timeout=5)

# fuzzing loop (very simple)
import os, random
seeds = [b"\x89PNG...", b"\xff\xd8..."]
while True:
    s = bytearray(random.choice(seeds))
    # random mutation
    for _ in range(10):
        i = random.randrange(len(s))
        s[i] = random.randrange(256)
    try:
        run_one(bytes(s))
    except Exception as e:
        print("Crash:", e)
        break
Suggested tools & ecosystem (conceptual, pick what fits your stack)
CI integration: run short fuzz sessions in PR checks; long runs on scheduled runners.
Note: choose tools that match your language and build system. For many C/C++ projects, libFuzzer + ASan is a well-supported starter combo; for binaries without recompilation, AFL with QEMU mode or network fuzzers may be used.
Quick checklist to get started (copy into your project README)
Pick target (parser, API, library function).
Create minimal harness and seed corpus.
Build with sanitizers and coverage instrumentation.
Run a local fuzzing session and collect crashes.
Minimize crashes and add regressors to test suite.
Add short fuzz job to PR CI; schedule long fuzz runs nightly.
Automate triage and track issues.
Conclusion
Fuzzing is one of the highest-leverage testing techniques for finding low-level crashes and security bugs. Start with one target, instrument with sanitizers and coverage, run both short CI fuzz jobs and long-running background fuzzers, and make fixing and regressing fuzz-found issues part of your development flow. Over time you’ll harden parsers, network stacks, and critical code paths — often catching bugs that would have become security incidents in production.
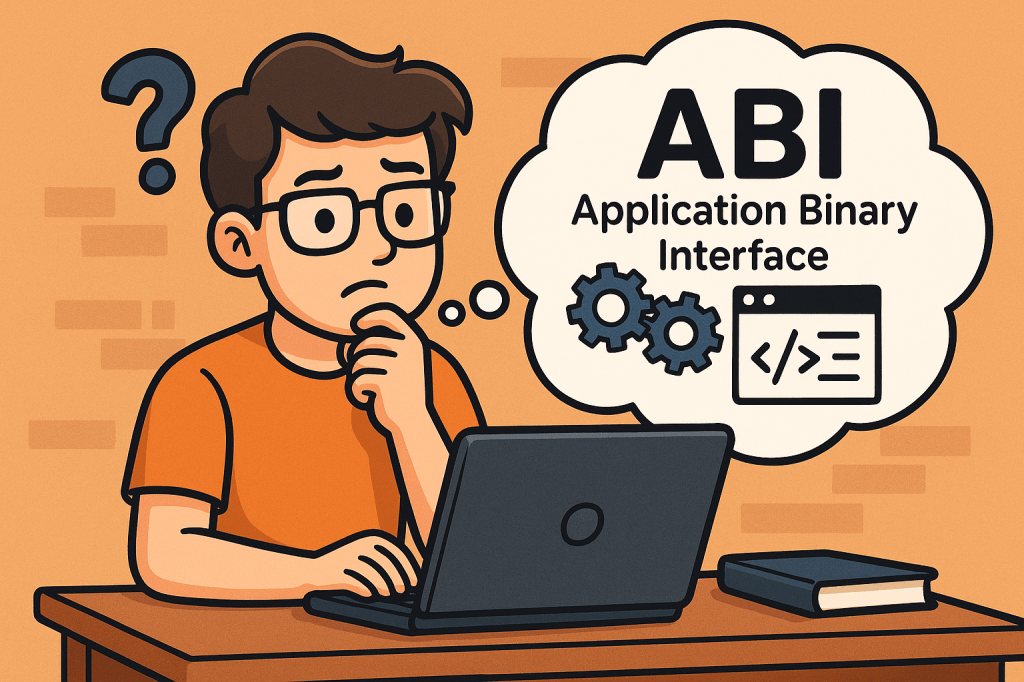
An Application Binary Interface (ABI) defines the low-level, binary-level contract between two pieces of software — typically between a compiled program and the operating system, or between different compiled modules of a program. While an API (Application Programming Interface) specifies what functions and data structures are available for use, the ABI specifies how those functions and data structures are represented in machine code.
In simpler terms, ABI ensures that independently compiled programs and libraries can work together at the binary level without conflicts.
Main Features and Concepts of ABI
Key aspects of ABI include:
Calling Conventions: Defines how functions are called at the machine level, including how parameters are passed (in registers or stack) and how return values are handled.
Data Types and Alignment: Ensures consistency in how data structures, integers, floats, and pointers are represented in memory.
System Call Interface: Defines how applications interact with the kernel (e.g., Linux system calls).
Binary File Format: Specifies how executables, shared libraries, and object files are structured (e.g., ELF on Linux, PE on Windows).
Name Mangling Rules: Important in languages like C++ to ensure symbols can be linked correctly across different modules.
Exception Handling Mechanism: Defines how runtime errors and exceptions are propagated across compiled units.
How Does ABI Work?
When you compile source code, the compiler translates human-readable instructions into machine instructions. For these instructions to interoperate correctly across libraries and operating systems:
The compiler must follow ABI rules for function calls, data types, and registers.
The linker ensures compatibility by checking binary formats.
The runtime environment (OS and hardware) executes instructions assuming they follow ABI conventions.
If two binaries follow different ABIs, they may be incompatible even if their APIs look identical.
Benefits and Advantages of ABI
Cross-Compatibility: Enables different compilers and programming languages to interoperate on the same platform.
Stability: Provides long-term support for existing applications without recompilation when the OS or libraries are updated.
Portability: Makes it easier to run applications across different hardware architectures that support the same ABI standard.
Performance Optimization: Well-designed ABIs leverage efficient calling conventions and memory layouts for faster execution.
Ecosystem Support: Many open-source ecosystems (like Linux distributions) rely heavily on ABI stability to support thousands of third-party applications.
Main Challenges of ABI
ABI Breakage: Small changes in data structure layout or calling conventions can break compatibility between old and new binaries.
Platform-Specific Differences: ABIs differ across operating systems (Linux, Windows, macOS) and hardware (x86, ARM, RISC-V).
Compiler Variations: Different compilers may implement language features differently, causing subtle ABI incompatibilities.
Maintaining Stability: Once an ABI is published, it becomes difficult to change without breaking existing applications.
Security Concerns: Exposing low-level system call interfaces can introduce vulnerabilities if not carefully managed.
How and When Can We Use ABI?
ABIs are critical in several contexts:
Operating Systems: Defining how user applications interact with the kernel (e.g., Linux System V ABI).
Language Interoperability: Allowing code compiled from different languages (C, Rust, Fortran) to work together.
Cross-Platform Development: Supporting software portability across different devices and architectures.
Library Distribution: Ensuring precompiled libraries (like OpenSSL, libc) work seamlessly across applications.
Real World Examples of ABI
Linux Standard Base (LSB): Defines a common ABI for Linux distributions, allowing software vendors to distribute binaries that run across multiple distros.
Windows ABI (Win32 / x64): Ensures applications compiled for Windows can run on different versions without modification.
ARM EABI (Embedded ABI): Used in mobile and embedded systems to ensure cross-compatibility of binaries.
C++ ABI: The Itanium C++ ABI is widely adopted to standardize exception handling, RTTI, and name mangling across compilers.
Integrating ABI into the Software Development Process
To integrate ABI considerations into development:
Follow Established Standards: Adhere to platform ABIs (e.g., System V on Linux, Microsoft x64 ABI on Windows).
Use Compiler Flags Consistently: Ensure all modules and libraries are built with the same ABI-related settings.
Monitor ABI Stability: When upgrading compilers or libraries, check for ABI changes to prevent runtime failures.
Testing Across Platforms: Perform binary compatibility testing in CI/CD pipelines to catch ABI mismatches early.
Documentation and Versioning: Clearly document the ABI guarantees your software provides, especially if distributing precompiled libraries.
Conclusion
The Application Binary Interface (ABI) is the unseen backbone of software interoperability. It ensures that compiled programs, libraries, and operating systems can work together seamlessly. While maintaining ABI stability can be challenging, respecting ABI standards is essential for long-term compatibility, ecosystem growth, and reliable software development.
A message broker is middleware that routes, stores, and delivers messages between independent parts of a system (services, apps, devices). Instead of services calling each other directly, they publish messages to the broker, and other services consume them. This creates loose coupling, improves resilience, and enables asynchronous workflows.
At its core, a broker provides:
Producers that publish messages.
Queues/Topics where messages are held.
Consumers that receive messages.
Delivery guarantees and routing so the right messages reach the right consumers.
Common brokers: RabbitMQ, Apache Kafka, ActiveMQ/Artemis, NATS, Redis Streams, AWS SQS/SNS, Google Pub/Sub, Azure Service Bus.
A Short History (High-Level Timeline)
Mainframe era (1970s–1980s): Early queueing concepts appear in enterprise systems to decouple batch and transactional workloads.
Enterprise messaging (1990s): Commercial MQ systems (e.g., IBM MQ, Microsoft MSMQ, TIBCO) popularize durable queues and pub/sub for financial and telecom workloads.
Open standards (late 1990s–2000s): Java Message Service (JMS) APIs and AMQP wire protocol encourage vendor neutrality.
Distributed streaming (2010s): Kafka and cloud-native services (SQS/SNS, Pub/Sub, Service Bus) emphasize horizontal scalability, event streams, and managed operations.
Why? Eases cross-team collaboration and reduces synchronous coupling.
Transactional Outbox (reliability bridge):
Flow: Service writes business state and an “outbox” row in the same DB transaction → a relay publishes the event to the broker → exactly-once effect at the boundary.
Why? Prevents the “saved DB but failed to publish” problem.
IoT Telemetry & Monitoring:
Flow: Devices publish telemetry to MQTT/AMQP; backend aggregates, filters, and stores for dashboards & alerts.
Why? Handles intermittent connectivity, large fan-in, and variable rates.
Log & Metric Pipelines / Stream Processing:
Flow: Applications publish logs/events to a streaming broker; processors compute aggregates and feed real-time dashboards.
Why? High throughput, replay for incident analysis, and scalable consumers.
Payment & Fraud Detection:
Flow: Payments emit events to fraud detection service; anomalies trigger holds or manual review.
Why? Low latency pipelines with backpressure and guaranteed delivery.
Search Indexing / ETL:
Flow: Data changes publish “change events” (CDC); consumers update search indexes or data lakes.
Why? Near-real-time sync without tight DB coupling.
Notifications & Email/SMS:
Flow: App publishes notify.user messages; a notification service renders templates and sends via providers with retry/DLQ.
Why? Offloads slow/fragile external calls from critical paths.
Centralize structured logging and traces (correlation IDs).
Create runbooks for reprocessing, backfills, and DLQ triage.
6) Testing Strategy
Unit tests for message handlers (pure logic).
Contract tests to ensure producer/consumer schema compatibility.
Integration tests using Testcontainers (spin up Kafka/RabbitMQ in CI).
Load tests to validate partitioning, concurrency, and backpressure.
7) Deployment & Infra
Provision via IaC (Terraform, Helm).
Configure quotas, ACLs, retention, and autoscaling.
Use blue/green or canary deploys for consumers to avoid message loss.
8) Governance & Evolution
Own each topic/queue (clear team ownership).
Document schema evolution rules and deprecation process.
Periodically review retention, partitions, and consumer performance.
Minimal Code Samples (Spring Boot, so you can plug in quickly)
Kafka Producer (Spring Boot)
@Service
public class OrderEventProducer {
  private final KafkaTemplate<String, String> kafka;

  public OrderEventProducer(KafkaTemplate<String, String> kafka) {
    this.kafka = kafka;
  }

  public void publishOrderCreated(String orderId, String payloadJson) {
    kafka.send("orders.created", orderId, payloadJson); // use orderId as key for ordering
  }
}
Kafka Consumer
@Component
public class OrderEventConsumer {
  @KafkaListener(topics = "orders.created", groupId = "order-workers")
  public void onMessage(String payloadJson) {
    // TODO: validate schema, handle idempotency via orderId, process safely, log traceId
  }
}
RabbitMQ Consumer (Spring AMQP)
@Component
public class EmailConsumer {
  @RabbitListener(queues = "email.notifications")
  public void handleEmail(String payloadJson) {
    // Render template, call provider with retries; nack to DLQ on poison messages
  }
}
Treating the broker like a database: keep payloads small, use a real DB for querying and relationships.
No schema discipline: enforce contracts; add fields in backward-compatible ways.
Ignoring DLQs: monitor and drain with runbooks; fix root causes, don’t just requeue forever.
Chatty synchronous RPC over MQ: use proper async patterns; when you must do request-reply, set timeouts and correlation IDs.
Hot partitions: choose balanced keys; consider hashing or sharding strategies.
A Quick Integration Checklist
Pick broker aligned to throughput/routing needs.
Define topic/queue naming, keys, and retention.
Establish message schemas + versioning rules.
Implement idempotency and the transactional outbox where needed.
Add retries, backoff, and DLQ policies.
Secure with TLS + auth; restrict ACLs.
Instrument lag, errors, DLQ depth, and add tracing.
Test with Testcontainers in CI; load test for spikes.
Document ownership and runbooks for reprocessing.
Review partitions/retention quarterly.
Final Thoughts
Message brokers are a foundational building block for event-driven, resilient, and scalable systems. Start by modeling the events and delivery guarantees you need, then select a broker that fits your routing and throughput profile. With solid schema governance, idempotency, DLQs, and observability, you’ll integrate messaging into your development process confidently—and unlock patterns that are hard to achieve with synchronous APIs alone.


Recent Comments