Search

Software Engineer's Notes

Tag

CI/CD Pipeline

End-to-End Testing in Software Development

What is End to End testing?

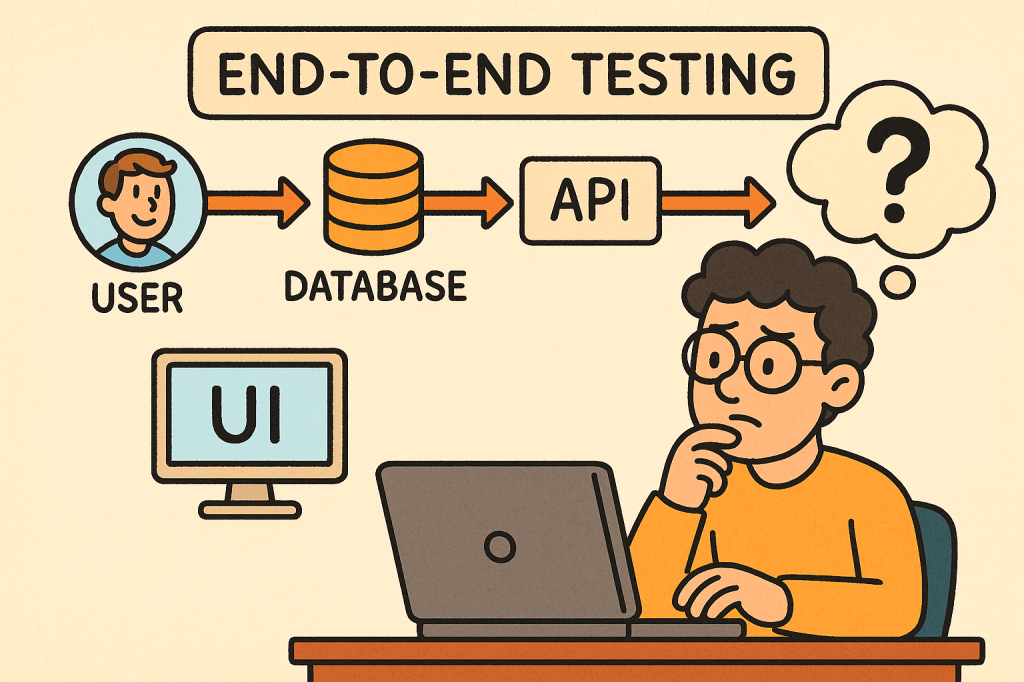
In today’s fast-paced software world, ensuring your application works seamlessly from start to finish is critical. That’s where End-to-End (E2E) testing comes into play. It validates the entire flow of an application — from the user interface down to the database and back — making sure every component interacts correctly and the overall system meets user expectations.

What is End-to-End Testing?

End-to-End testing is a type of software testing that evaluates an application’s workflow from start to finish, simulating real-world user scenarios. The goal is to verify that the entire system — including external dependencies like databases, APIs, and third-party services — functions correctly together.

Instead of testing a single module or service in isolation, E2E testing ensures that the complete system behaves as expected when all integrated parts are combined.

For example, in an e-commerce system:

  • A user logs in,
  • Searches for a product,
  • Adds it to the cart,
  • Checks out using a payment gateway,
  • And receives a confirmation email.

E2E testing verifies that this entire sequence works flawlessly.

How Does End-to-End Testing Work?

End-to-End testing typically follows these steps:

  1. Identify User Scenarios
    Define the critical user journeys — the sequences of actions users perform in real life.
  2. Set Up the Test Environment
    Prepare a controlled environment that includes all necessary systems, APIs, and databases.
  3. Define Input Data and Expected Results
    Determine what inputs will be used and what the expected output or behavior should be.
  4. Execute the Test
    Simulate the actual user actions step by step using automated or manual scripts.
  5. Validate Outcomes
    Compare the actual behavior against expected results to confirm whether the test passes or fails.
  6. Report and Fix Issues
    Log any discrepancies and collaborate with the development team to address defects.

Main Components of End-to-End Testing

Let’s break down the key components that make up an effective E2E testing process:

1. Test Scenarios

These represent real-world user workflows. Each scenario tests a complete path through the system, ensuring functional correctness across modules.

2. Test Data

Reliable, representative test data is crucial. It mimics real user inputs and system states to produce accurate testing results.

3. Test Environment

A controlled setup that replicates the production environment — including databases, APIs, servers, and third-party systems — to validate integration behavior.

4. Automation Framework

Automation tools such as Cypress, Selenium, Playwright, or TestCafe are often used to run tests efficiently and repeatedly.

5. Assertions and Validation

Assertions verify that the actual output matches the expected result. These validations ensure each step in the workflow behaves correctly.

6. Reporting and Monitoring

After execution, results are compiled into reports for developers and QA engineers to analyze, helping identify defects quickly.

Benefits of End-to-End Testing

1. Ensures System Reliability

By testing complete workflows, E2E tests ensure that the entire application — not just individual components — works as intended.

2. Detects Integration Issues Early

Since E2E testing validates interactions between modules, it can catch integration bugs that unit or component tests might miss.

3. Improves User Experience

It simulates how real users interact with the system, guaranteeing that the most common paths are always functional.

4. Increases Confidence Before Release

With E2E testing, teams gain confidence that new code changes won’t break existing workflows.

5. Reduces Production Failures

Because it validates real-life scenarios, E2E testing minimizes the risk of major failures after deployment.

Challenges of End-to-End Testing

While E2E testing offers significant value, it also comes with some challenges:

  1. High Maintenance Cost
    Automated E2E tests can become fragile as UI or workflows change frequently.
  2. Slow Execution Time
    Full workflow tests take longer to run than unit or integration tests.
  3. Complex Setup
    Simulating a full production environment — with multiple services, APIs, and databases — can be complex and resource-intensive.
  4. Flaky Tests
    Tests may fail intermittently due to timing issues, network delays, or dependency unavailability.
  5. Difficult Debugging
    When something fails, tracing the root cause can be challenging since multiple systems are involved.

When and How to Use End-to-End Testing

E2E testing is best used when:

  • Critical user workflows need validation.
  • Cross-module integrations exist.
  • Major releases are scheduled.
  • You want confidence in production stability.

Typically, it’s conducted after unit and integration tests have passed.
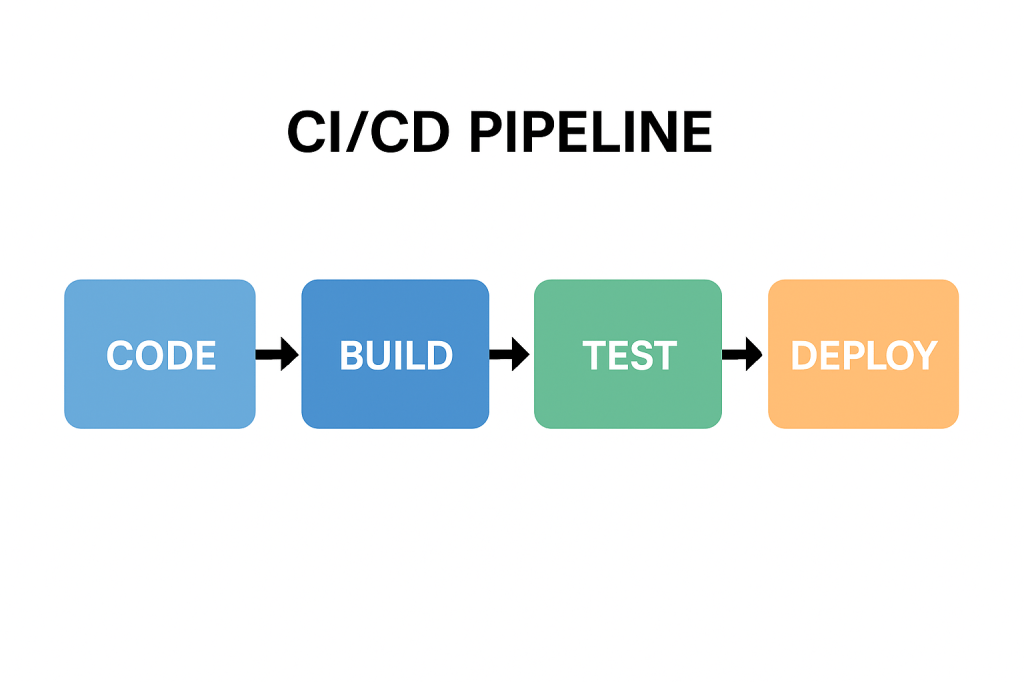
In Agile or CI/CD environments, E2E tests are often automated and run before deployment to ensure regressions are caught early.

Integrating End-to-End Testing into Your Software Development Process

Here’s how you can effectively integrate E2E testing:

  1. Define Key User Journeys Early
    Collaborate with QA, developers, and business stakeholders to identify essential workflows.
  2. Automate with Modern Tools
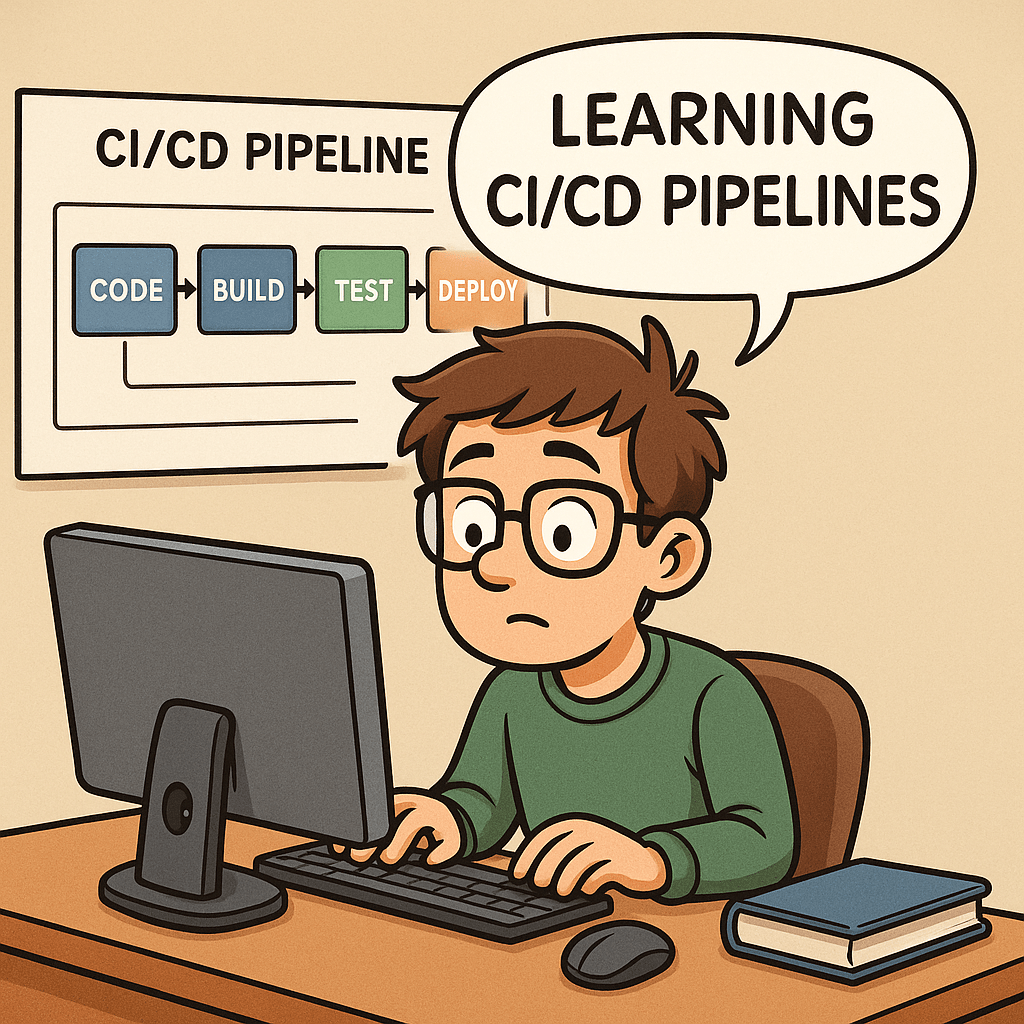
    Use frameworks like Cypress, Selenium, or Playwright to automate repetitive E2E scenarios.
  3. Incorporate into CI/CD Pipeline
    Run E2E tests automatically as part of your build and deployment process.
  4. Use Staging Environments
    Always test in an environment that mirrors production as closely as possible.
  5. Monitor and Maintain Tests
    Regularly update test scripts as the UI, APIs, and workflows evolve.
  6. Combine with Other Testing Levels
    Balance E2E testing with unit, integration, and acceptance testing to maintain a healthy test pyramid.

Conclusion

End-to-End testing plays a vital role in ensuring the overall quality and reliability of modern software applications.
By validating real user workflows, it gives teams confidence that everything — from UI to backend — functions smoothly.

While it can be resource-heavy, integrating automated E2E testing within a CI/CD pipeline helps teams catch critical issues early and deliver stable, high-quality releases.

Smoke Testing in Software Development: A Complete Guide

What is smoke testing?

In modern software development, testing is a crucial step to ensure the stability, quality, and reliability of applications. Among different types of testing, Smoke Testing stands out as one of the simplest yet most effective methods to quickly assess whether a build is stable enough for further testing.

This blog explores what smoke testing is, how it works, its features, benefits, real-world use cases, and how you can integrate it into your software development process.

What is Smoke Testing?

Smoke Testing (also called Build Verification Testing) is a type of software testing that ensures the most important functions of an application work correctly after a new build or release.

The term comes from hardware testing, where engineers would power up a device for the first time and check if it “smoked.” In software, the idea is similar — if the application fails during smoke testing, it’s not ready for deeper functional or regression testing.

Main Features and Components of Smoke Testing

  1. Build Verification
    • Performed on new builds to check if the application is stable enough for further testing.
  2. Critical Functionality Check
    • Focuses only on the essential features like login, navigation, data input, and core workflows.
  3. Shallow and Wide Testing
    • Covers all major areas of the application without going into too much detail.
  4. Automation or Manual Execution
    • Can be executed manually for small projects or automated for CI/CD pipelines.
  5. Fast Feedback
    • Provides developers and testers with immediate insights into build quality.

How Does Smoke Testing Work?

The process of smoke testing generally follows these steps:

  1. Receive the Build
    • A new build is deployed from the development team.
  2. Deploy in Test Environment
    • The build is installed in a controlled testing environment.
  3. Execute Smoke Test Cases
    • Testers run predefined test cases focusing on core functionality (e.g., login, saving records, basic navigation).
  4. Evaluate the Results
    • If the smoke test passes, the build is considered stable for further testing.
    • If it fails, the build is rejected, and the issues are reported back to developers.

Benefits of Smoke Testing

  1. Early Detection of Major Defects
    • Prevents wasted effort on unstable builds.
  2. Saves Time and Effort
    • Quickly identifies whether further testing is worthwhile.
  3. Improves Build Stability
    • Ensures only stable builds reach deeper levels of testing.
  4. Supports Continuous Integration
    • Automated smoke tests provide fast feedback in CI/CD pipelines.
  5. Boosts Confidence
    • Developers and testers gain assurance that the software is fundamentally working.

When and How Should We Use Smoke Testing?

  • After Every New Build
    • Run smoke tests to validate basic functionality before regression or system testing.
  • During Continuous Integration/Delivery (CI/CD)
    • Automate smoke tests to ensure each code commit does not break critical functionality.
  • In Agile Environments
    • Use smoke testing at the end of every sprint to ensure incremental builds remain stable.

Real-World Use Cases of Smoke Testing

  1. Web Applications
    • Example: After a new deployment of an e-commerce platform, smoke tests might check if users can log in, add items to a cart, and proceed to checkout.
  2. Mobile Applications
    • Example: For a banking app, smoke tests ensure users can log in, view account balances, and transfer funds before more advanced testing begins.
  3. Enterprise Systems
    • Example: In large ERP systems, smoke tests verify whether dashboards load, reports generate, and user roles function properly.
  4. CI/CD Pipelines
    • Example: Automated smoke tests run after every commit in Jenkins or GitHub Actions, ensuring no critical features are broken.

How to Integrate Smoke Testing Into Your Software Development Process

  1. Define Critical Features
    • Identify the most important features that must always work.
  2. Create Reusable Test Cases
    • Write simple but broad test cases that cover the entire system’s core functionalities.
  3. Automate Whenever Possible
    • Use testing frameworks like Selenium, Cypress, or JUnit to automate smoke tests.
  4. Integrate With CI/CD Tools
    • Configure Jenkins, GitLab CI, or GitHub Actions to trigger smoke tests after every build.
  5. Continuous Monitoring
    • Regularly review and update smoke test cases as the application evolves.

Conclusion

Smoke testing acts as the first line of defense in software testing. It ensures that critical functionalities are intact before investing time and resources into deeper testing activities. Whether you’re working with web apps, mobile apps, or enterprise systems, smoke testing helps maintain build stability and improves overall software quality.

By integrating smoke testing into your CI/CD pipeline, you can speed up development cycles, reduce risks, and deliver stable, reliable software to your users.

Understanding CI/CD Pipelines: A Complete Guide

Learning CI/CD pipelines

What Are CI/CD Pipelines?

What is CI/CD pipeline?

CI/CD stands for Continuous Integration and Continuous Delivery (or Deployment).
A CI/CD pipeline is a series of automated steps that help developers build, test, and deploy software more efficiently. Instead of waiting for long release cycles, teams can deliver updates to production quickly and reliably.

In simple terms, it is the backbone of modern DevOps practices, ensuring that code changes move smoothly from a developer’s laptop to production with minimal friction.

A Brief History of CI/CD

The idea of Continuous Integration was first popularized in the early 2000s through Extreme Programming (XP) practices. Developers aimed to merge code frequently and test it automatically to prevent integration issues.
Later, the concept of Continuous Delivery emerged, emphasizing that software should always be in a deployable state. With the rise of cloud computing and DevOps in the 2010s, Continuous Deployment extended this idea further, automating the final release step.

Today, CI/CD has become a standard in software engineering, supported by tools such as Jenkins, GitLab CI, GitHub Actions, CircleCI, and Azure DevOps.

Why Do We Need CI/CD Pipelines?

Without CI/CD, teams often face:

  • Integration problems when merging code late in the process.
  • Manual testing bottlenecks that slow down releases.
  • Risk of production bugs due to inconsistent environments.

CI/CD addresses these challenges by:

  • Automating builds and tests.
  • Providing rapid feedback to developers.
  • Reducing the risks of human error.

Key Benefits of CI/CD

  1. Faster Releases – Automations allow frequent deployments.
  2. Improved Quality – Automated tests catch bugs earlier.
  3. Better Collaboration – Developers merge code often, avoiding “integration hell.”
  4. Increased Confidence – Teams can push changes to production knowing the pipeline validates them.
  5. Scalability – Works well across small teams and large enterprises.

How Can We Use CI/CD in Our Projects?

Implementing CI/CD starts with:

  • Version Control Integration – Use Git repositories (GitHub, GitLab, Bitbucket).
  • CI/CD Tool Setup – Configure Jenkins, GitHub Actions, or other services.
  • Defining Stages – Common pipeline stages include:
    • Build – Compile the code and create artifacts.
    • Test – Run unit, integration, and functional tests.
    • Deploy – Push to staging or production environments.

Managing pipelines requires:

  • Infrastructure as Code (IaC) to keep environments consistent.
  • Monitoring and Logging to track pipeline health.
  • Regular maintenance of dependencies, tools, and scripts.

Can We Test the Pipelines?

Yes—and we should!
Testing pipelines ensures that the automation itself is reliable. Common practices include:

  • Pipeline Linting – Validate the configuration syntax.
  • Dry Runs – Run pipelines in a safe environment before production.
  • Self-Testing Pipelines – Use automated tests to verify the pipeline logic.
  • Chaos Testing – Intentionally break steps to confirm resilience.

Just as we test our applications, testing the pipeline gives confidence that deployments won’t fail when it matters most.

Conclusion

CI/CD pipelines are no longer a “nice to have”—they are essential for modern software development. They speed up delivery, improve code quality, and reduce risks. By implementing and maintaining well-designed pipelines, teams can deliver value to users continuously and confidently.

If you haven’t already, start small—integrate automated builds and tests, then expand toward full deployment automation. Over time, your CI/CD pipeline will become one of the most powerful assets in your software delivery process.

Related Posts

Blog at WordPress.com.

Up ↑